
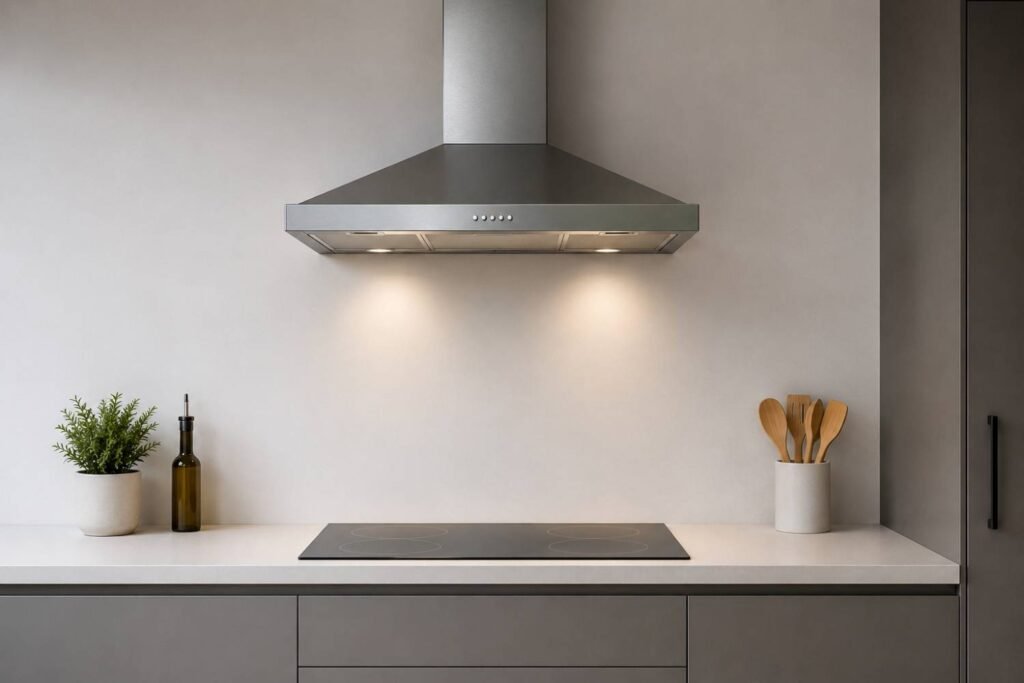
If your kitchen windows steam up every time you boil pasta, your cupboard doors feel tacky, or last night’s curry is still hanging around at breakfast, your extraction is not doing its job. In London, where many kitchens are compact, open-plan or tucked inside flats with limited outside walls, a poor extractor fan or cooker hood causes more problems than most people realise: condensation, black mould, grease build-up and lingering smells.
This guide explains how kitchen extractor fan and cooker hood installation works in London homes, which type suits your kitchen, what the rules and practical constraints are, how to troubleshoot a weak or noisy unit yourself, and when it is time to call a professional. Whether you are replacing a tired old unit or fitting one in a new kitchen, you should come away knowing exactly what to ask for.
What Is a Kitchen Extractor Fan and a Cooker Hood?
A kitchen extractor fan is a fan, usually mounted in a window, wall or ceiling, that pulls cooking steam and odours out of the room. A cooker hood sits above the hob and captures steam, grease and smoke at the source, then either vents them outside through ducting (ducted) or filters and returns the air to the room (recirculating).
Both aim to do the same job: remove moisture, grease and cooking fumes before they spread through your home. A cooker hood is generally more effective because it works right where the cooking happens, while a simple extractor fan is a cheaper, simpler option for small kitchens or rooms where a hood will not fit.
Read more: Shelves Installation London (Kitchen, Bathroom , Walls) + Cost
Why Good Kitchen Extraction Matters in London Homes
Cooking releases a surprising amount of water vapour, grease particles and combustion by-products, especially if you have a gas hob. London properties make this worse in a few ways:
- Older housing stock: Victorian and Edwardian terraces often have solid walls and limited airflow, so moisture lingers.
- Flats and conversions: Fewer external walls mean fewer sensible places to vent to.
- Open-plan living: Smells and steam travel straight into living areas and soft furnishings.
- Double glazing and draught-proofing: Great for heating bills, but they trap humidity indoors.
- Rented homes: Tenants and landlords both want to avoid damp and mould complaints.
A properly specified and installed unit helps to:
- Reduce condensation and the risk of mould on walls and ceilings
- Stop grease coating cabinets, tiles and appliances
- Keep cooking smells out of the rest of the home
- Improve air quality when cooking on a gas hob
- Protect decor and make cleaning far easier
Extractor Fan vs Cooker Hood: Which Do You Need?
The right choice depends on your layout, your cooking habits and whether you can vent outside. Here is a quick comparison.
| Type | Best for | Main advantages | Main drawbacks |
|---|---|---|---|
| Window or wall extractor fan | Small kitchens, galley kitchens, rentals | Low cost, simple fitting, effective for general moisture | Less effective at capturing grease at the hob; needs a suitable window or external wall |
| Ceiling extractor fan | Kitchens with roof or loft access | Discreet, quiet when well fitted | Needs ducting through the ceiling void; harder in flats |
| Chimney (wall-mounted) hood | Hobs against a wall | Strong extraction, good value, wide choice | Needs wall space and a duct route for best results |
| Island hood | Hobs on an island or peninsula | Statement look, good capture | Needs ceiling ducting and careful installation |
| Integrated or canopy hood | Fitted kitchens with wall units | Hidden in the cabinetry | Fixed size, often a lower extraction rate |
| Downdraft extractor | Island hobs where overhead hoods are not wanted | Disappears when not in use | Typically more expensive and less effective on tall pans |
As a rule of thumb, if you cook regularly and can duct outside, a ducted cooker hood gives the best results. If you cannot vent outside, a recirculating hood or a window fan in a smaller space is the realistic alternative.
Ducted or Recirculating: What Is the Difference?
Ducted hoods pull air through a duct and out of the building via a wall, roof or soffit vent. They remove moisture, grease and odours completely, which is why they are the preferred choice wherever possible.
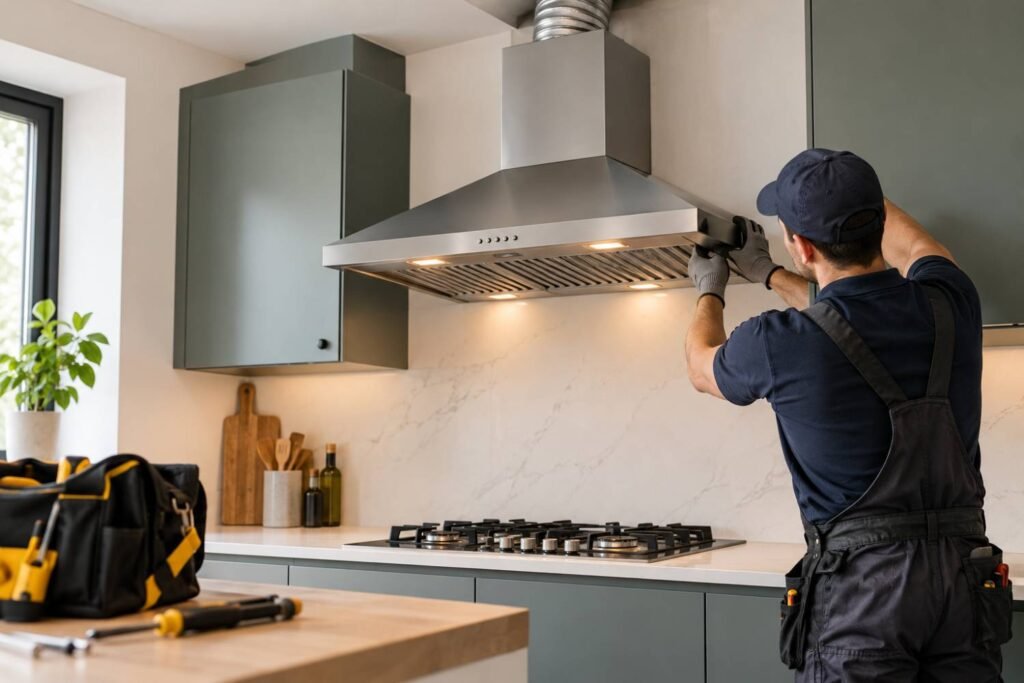
Recirculating hoods pass air through grease and charcoal filters and then release it back into the kitchen. They are useful in flats or listed buildings where ducting is not feasible, but they do not remove moisture, so condensation can still be an issue. Their charcoal filters also need replacing regularly, usually every few months depending on how often you cook.
If you are unsure which suits you, a quick site visit can settle it. The decision usually comes down to where your hob sits and how easily a duct can reach an outside wall.
Read more: Kitchen Fitting in London
How to Choose the Right Size and Power
Many people buy a hood based on looks and only discover later that it is underpowered. A few simple checks make a big difference.
- Match the hood width to your hob. The hood should be at least as wide as the hob, and slightly wider is better for catching steam.
- Calculate the airflow you need. A common rule of thumb is to multiply your kitchen volume (length × width × height, in cubic metres) by 10 to get a minimum extraction rate in cubic metres per hour. A 4 m × 3 m × 2.4 m kitchen is about 29 m³, so you would want at least 290 m³/h. Real-world ducting with bends loses airflow, so aim higher, often 400 to 600 m³/h for a family kitchen.
- Check the noise level. Look at the decibel rating. Open-plan spaces benefit from quieter models and good-quality fans.
- Think about the hob type. Gas hobs and frequent frying call for stronger extraction than an occasional induction hob.
- Consider filters and cleaning. Metal mesh filters can usually go in the dishwasher, which keeps maintenance simple.
Rules and Practical Checks Before Installation in London
Good installation is about more than bolting a unit to the wall. These are the main points to be aware of.
- Ventilation standards: UK Building Regulations (Approved Document F) set expectations for kitchen ventilation. Extraction should be effective at the hob and be able to remove moisture. New or altered ducted systems should be designed with this in mind.
- Electrical safety: Hoods and fans need a safe connection, typically via a fused spur or a suitable socket, with the correct fuse rating. New circuits or major electrical changes fall under Part P and should be carried out by a competent person.
- Distance above the hob: Manufacturers give minimum heights. As a general guide, many hoods sit around 650 mm above a gas hob and 500 to 650 mm above electric or induction, but always follow the instructions for your specific model.
- Gas appliances and flues: Never create a situation where a powerful extractor can pull fumes back down a flue from a gas boiler or open fire. This is a safety issue that needs checking before fitting.
- Leasehold flats: If you plan to drill through an external wall or common area, check your lease and speak to the freeholder or managing agent first.
- Listed buildings and conservation areas: Many London streets have restrictions on visible external changes, including vent terminals. Check before drilling.
- Neighbours and shared walls: Position external vents so they do not blow grease or steam towards a neighbour’s window.
How Installation Typically Works: Step by Step
Every home is different, but a professional installation usually follows this order:
- Survey and planning: Check hob position, ceiling and wall construction, duct route, power supply and any restrictions.
- Choosing the unit: Confirm the hood type, size and extraction rate that suit your kitchen.
- Removing the old unit: Safely disconnect power and take down the existing hood or fan.
- Marking and drilling: Mark the fixing points and, for ducted systems, the position of the vent hole. Core drill the external wall where needed.
- Fitting the duct: Use rigid or semi-rigid ducting with as few bends as possible, correctly sealed and sloped slightly to prevent condensation running back to the hob.
- Mounting the hood: Fix it securely at the correct height and level it.
- Electrical connection: Wire it to a suitably fused supply or plug it into an appropriate socket.
- Fitting the external vent: Install a vent cover with a non-return flap so cold air and pests stay out.
- Testing and tidy-up: Check airflow, lights, speeds and noise, then clean up and show you how to maintain the filters.
Read more: Wall Paneling Installation in London: Designs, Materials and Costs
Common Causes of a Weak, Noisy or Failing Extractor
If your current unit is struggling, one of these is usually the reason:
- Clogged grease filters: The most common cause of poor suction. Grease blocks airflow and can become a fire risk.
- Saturated charcoal filters: In recirculating hoods, old charcoal filters stop absorbing odours.
- Wrong size or underpowered unit: The hood is too small for the hob or the kitchen is larger than the fan can handle.
- Too many duct bends or overly long ducting: Every bend and extra metre reduces performance.
- Wrong duct diameter: Squeezing a wide outlet into narrow ducting chokes airflow.
- Blocked or damaged external vent: Dirt, nests or a stuck flap can stop air escaping.
- Loose fixings or unbalanced fan blades: These cause rattling, humming or vibration.
- Electrical faults: A tripped fuse, failed capacitor, worn motor or loose connection can stop the fan or make it run slowly.
- Draughts and lack of make-up air: In very airtight homes, the fan cannot pull air out if there is nowhere for fresh air to come in.
DIY Troubleshooting: What You Can Safely Check
Before calling anyone, these simple checks can solve many problems. Always switch the unit off at the isolator or fuse board before touching any part of it.
- Check the power: Make sure the fuse has not tripped and the fused spur is switched on. Test the light and each speed setting.
- Clean or replace the grease filters: Remove metal filters and wash them in hot, soapy water or the dishwasher. Let them dry fully before refitting.
- Replace the charcoal filter: If your hood recirculates, replace the charcoal filter if it has not been changed in the past few months.
- Wipe the fan area: Clean visible grease from the housing and around the blades with a degreaser and a cloth.
- Look at the external vent: From outside, check the cover is clear and the flap opens freely when the fan runs.
- Check for rattles: Tighten any loose screws and make sure panels sit properly.
- Open a window slightly: If suction improves, your kitchen may need a better supply of make-up air.
- Listen carefully: A grinding or squealing sound usually points to a worn motor or bearing, which needs professional attention.
If the unit still does not work properly after these checks, or you notice a burning smell, sparks, tripping fuses or visible damage, stop using it and get it inspected.
When to Call a Professional
DIY is fine for cleaning and simple checks, but installation often involves more than people expect. It is worth getting a professional in when:
- You are installing a ducted hood and need to drill through an external wall or ceiling
- You are moving a hob or changing the position of a hood
- The electrical supply needs altering or a new spur is required
- You live in a flat, listed building or conservation area
- The hood is heavy, such as a large island or glass chimney model
- You want the work to look neat and be done safely first time
A mistake with ducting or wiring can leave you with a noisy, ineffective unit, damaged walls or a safety hazard.
What Affects the Cost of Installation?
Prices vary by property and job, so the most reliable way to know the cost is to have the work assessed. These are the main factors:
| Factor | How it affects the price |
|---|---|
| Type of unit | Island and integrated hoods usually take longer to fit than a basic wall extractor |
| Ducting length and route | Longer or more complex routes need more materials and time |
| Wall or ceiling construction | Brick, stone, concrete and plasterboard all need different tools and approaches |
| Electrical work | A new spur or wiring changes the scope of the job |
| Removal of the old unit | Taking down and disposing of an existing hood adds a little time |
| Access and height | Tall ceilings or awkward spaces can affect the work required |
| Making good | Plastering, filling and tidying after drilling |
If you are comparing quotes, check that each one clearly states what is included, such as ducting, vent covers, electrical connection and disposal of the old unit.
Why Choose Fix in London for Extractor Fan and Cooker Hood Installation?
Getting this job done well means careful measuring, tidy workmanship and an understanding of how London homes are built. Fix in London is a trusted local service for household repairs and installations, available seven days a week across the capital, from Islington and Camden to Barnet, Harrow and Enfield.
Here is what you can expect when you book Fix in London for your kitchen extractor fan or cooker hood:
- A proper assessment of your kitchen layout, ducting route and power supply
- Honest advice on whether a ducted or recirculating system suits you best
- Neat, secure installation with careful drilling, sealing and cleaning up afterwards
- Removal of your old unit if required
- Clear communication so you know what is being done and why
Because we handle a wide range of kitchen and home improvement work, from fitting to repairs, it is easy to combine tasks in a single visit and avoid multiple call-outs.
Frequently Asked Questions
How much does it cost to install a cooker hood in London?
The cost depends on the type of hood, whether it is ducted, how far the duct needs to run and whether any electrical work is needed. A straightforward replacement of an existing hood is usually quicker and cheaper than a new ducted installation through an external wall. For an accurate price, ask a professional to assess your kitchen and give you a written quote.
Does a cooker hood have to vent outside?
No, but venting outside is the most effective option because it removes steam, grease and odours completely. If you cannot vent outside, for example in a flat with no suitable external wall, a recirculating hood with a charcoal filter is a practical alternative, although it will not remove moisture from the air.
How high should a cooker hood be above the hob?
It depends on the model, so always follow the manufacturer’s instructions. As a general guide, many hoods are fitted around 650 mm above a gas hob and between 500 and 650 mm above an electric or induction hob. Too low can be a safety risk and too high reduces how well it captures steam.
Can I install a kitchen extractor fan or cooker hood myself?
A confident DIYer can swap like-for-like on a simple recirculating hood, but ducted installations involve drilling through walls, sealing ducts and making electrical connections. Mistakes can lead to poor performance, damage or safety problems, so it is sensible to use a qualified installer, particularly if wiring changes are needed.
Conclusion: Cleaner Air, Drier Walls and a Fresher Kitchen
A well-chosen and properly installed extractor fan or cooker hood does far more than get rid of cooking smells. It protects your walls from damp, keeps grease off your cabinets, improves air quality and makes your kitchen a more pleasant place to be. The key is matching the right type and power to your layout, planning the ducting carefully and having it fitted safely.
If you are ready to upgrade, or you are tired of a noisy, ineffective unit, get in touch with Fix in London for a clear quote and a tidy, reliable installation. Call or message us today to book your kitchen extractor fan or cooker hood installation anywhere in London.